Wellness Wonderland25
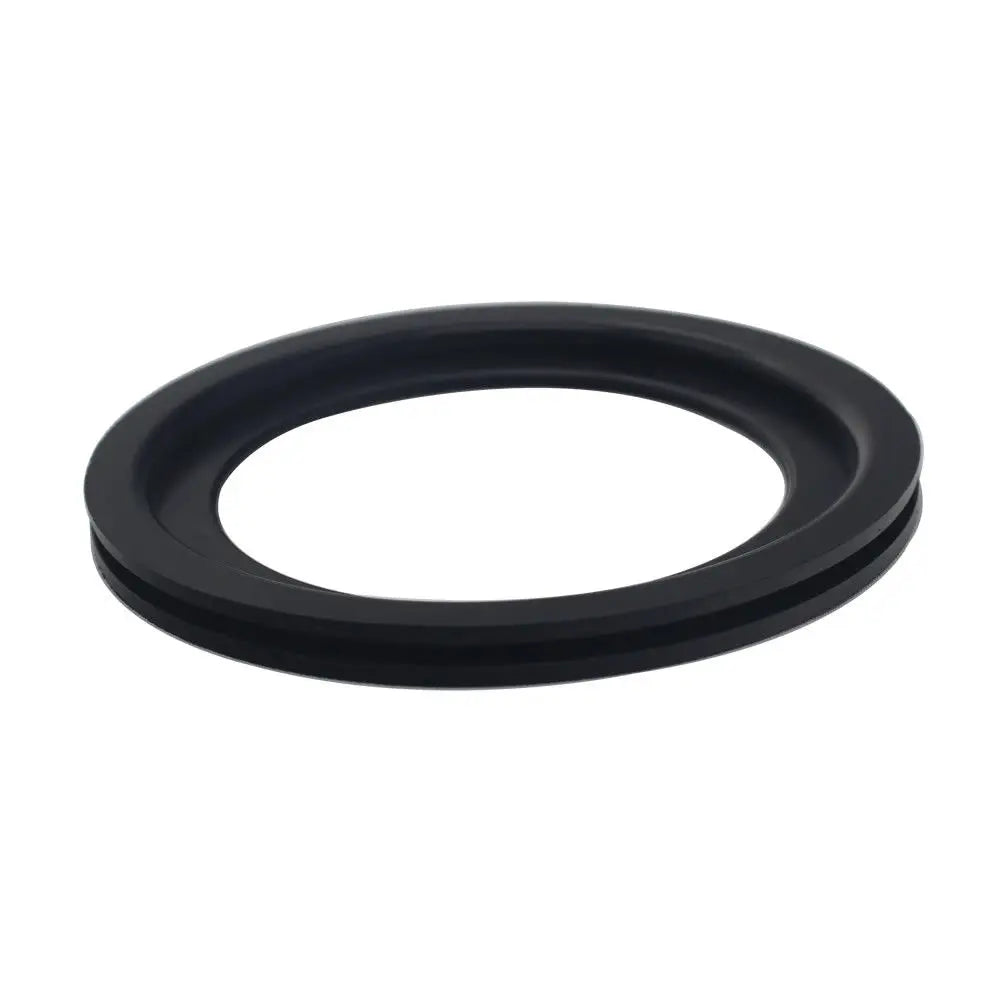
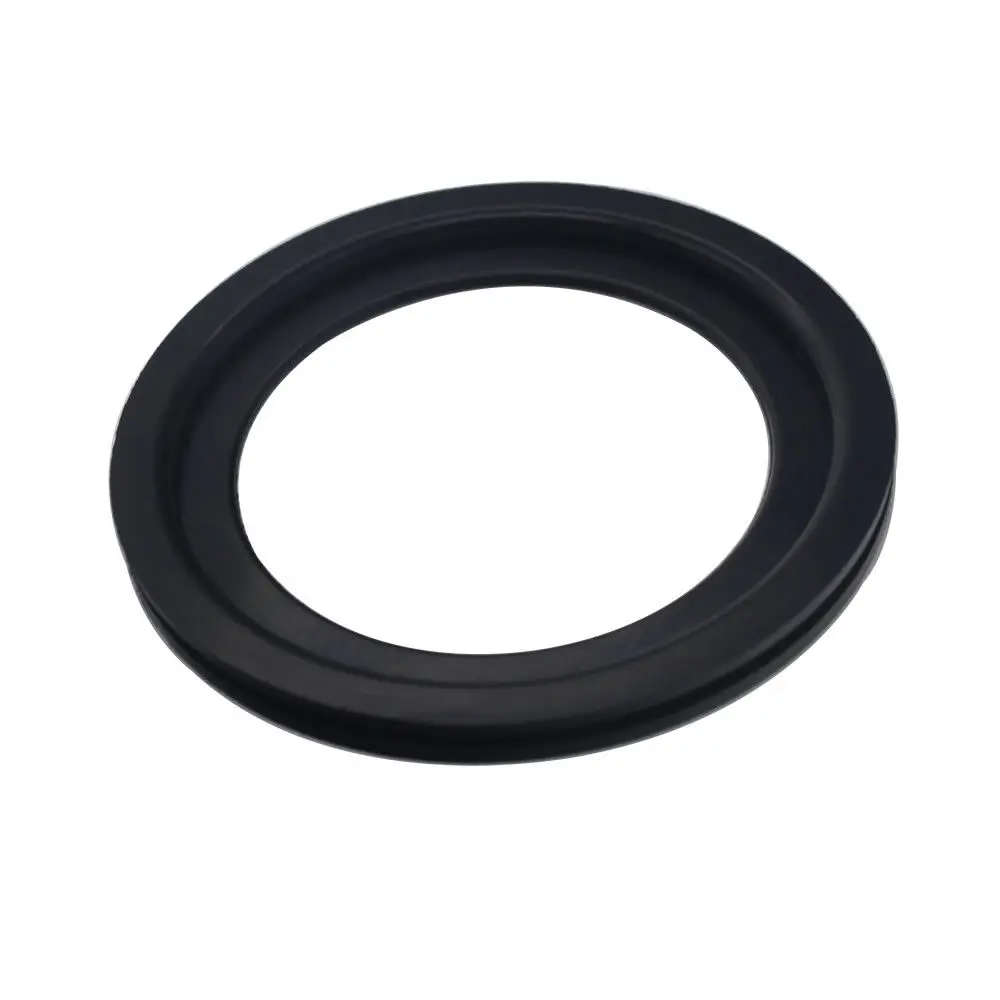
Sealand Toilet Flush Ball Seal 385311658 Replaces for Dometic Model 300, 310 301,and 320 RV, Motorhome Camper & Trailer Toilets
Sealand Toilet Flush Ball Seal 385311658 Replaces for Dometic Model 300, 310 301,and 320 RV, Motorhome Camper & Trailer Toilets
Couldn't load pickup availability
SPECIFICATIONS
Brand Name: NoEnName_Null
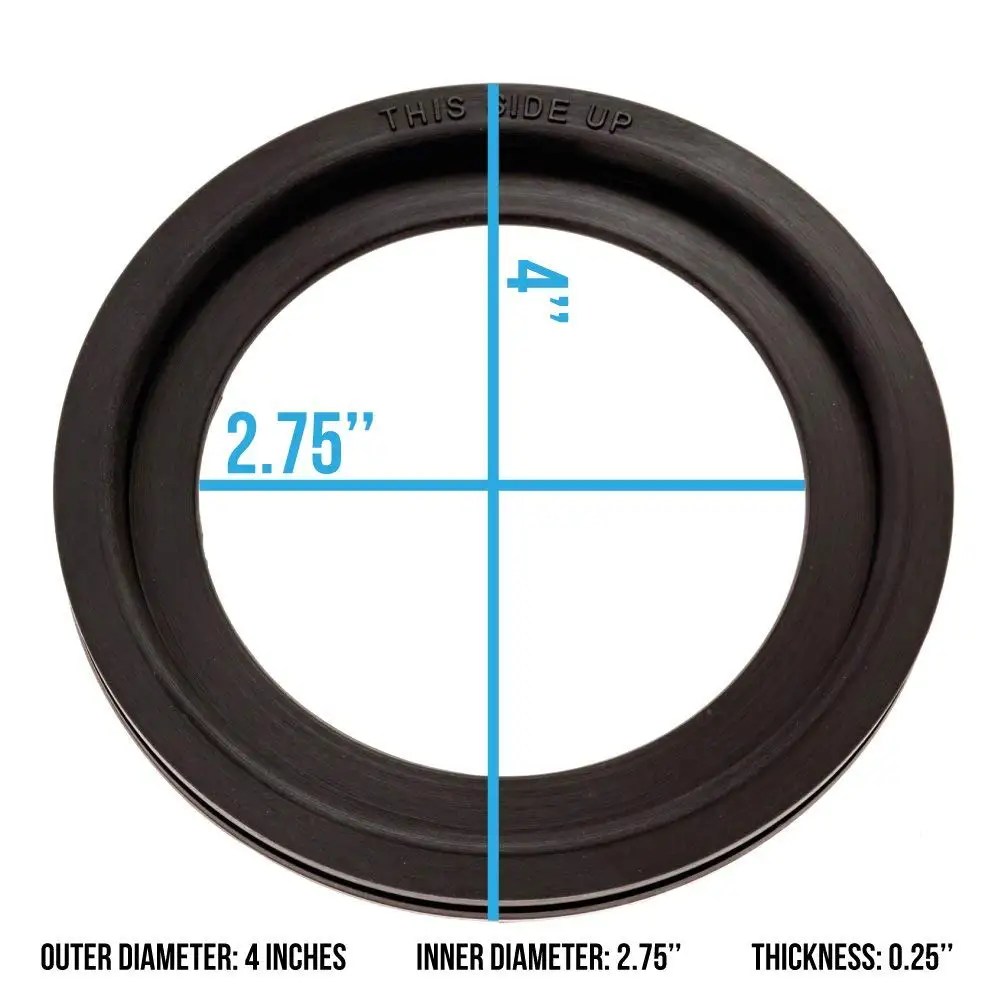
Item Diameter: 4
Item Height: 0.25
Item Length: 4
Item Weight: 40
Item Width: 4
Material: rubber
Model Name: SEAL03
Origin: Mainland China
Special Features: Sealand Toilet Flush Ball Seal
PERFECT FIT: FOR 300 / 310 / 320 MODELS: Our flush ball seals /gaskets are a perfect fit for Dometic (TM) 300, 310 and 320 RV, motorhome and trailer toilets. Replace Dometic (TM) flush ball seal kits # 385311658
HIGH-QUALITY MATERIALMADE TO LAST: Our seals are made from a high-quality rubber blend for optimal performance and a long-lasting lifespan.
DIY INSTALL SAVES MONEY: Don't go out an buy a new toilet or pay someone an arm-and-a-leg to change the seal - follow our instructions below and you'll be back up-and-running in no time.
Please note: This is an aftermarket replacement product meeting or exceeding the quality of OEM seals. DOES NOT FIT 210, 510 OR ANY OTHER MODELS NOT LISTED.

 Installation Instructions:
1. Turn off water supply.
2. Hold the flush ball open by depressing the flush pedal.
3. Grasp the underside of the old seal and pull towards you to remove.
4. Clean the rim and bowl area where the old gasket previously sat.
5. Release flush pedal and allow the flush ball to close.
6. Clean the flush ball.
7. With the flush ball closed, put the new seal in and press outwards to ensure that it is firmly in place.
8. Reopen the flush ball and spread a lubricant in the areas where the gasket will contact the flush ball.
9. Open and close the flush ball several times, then press down on the gasket to ensure it is properly positioned.
10. Turn on the water supply, add water to the bowl and ensure that there are no leaks.